KAG
New member
I have been messing with hydro graphics lately. I tore down, stripped, cleaned, primed, dipped, and then clear coated these. I also did my Burris MTAC scope and Burris PEPR mount. The camo pattern is Monster Marsh. I really like the pattern for the large expanses of prairie/grass lands I hunt.
I am very happy with the way it turned out. Sure some things could of been better but I did it myself and it was fun. I promise if I can do this so can anyone else on here.
At this step I had already scuffed or sanded. Applied adhesion promoter, and primer.
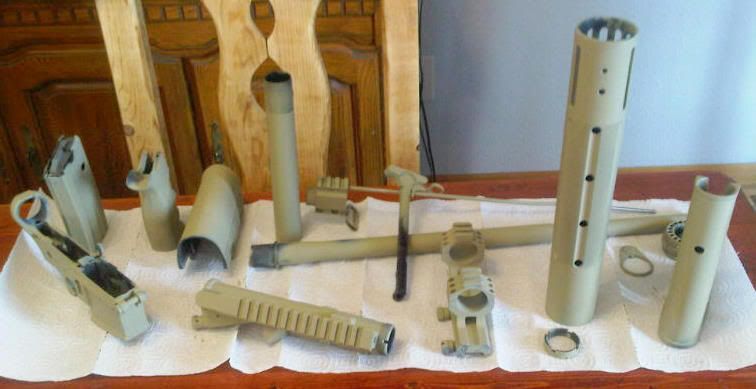
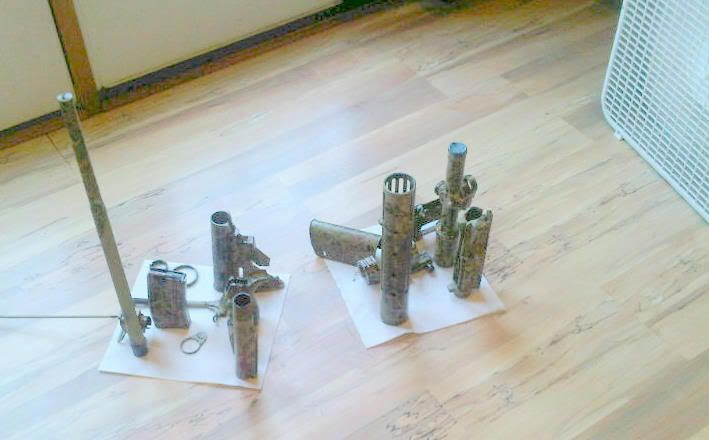
First couple of Pieces
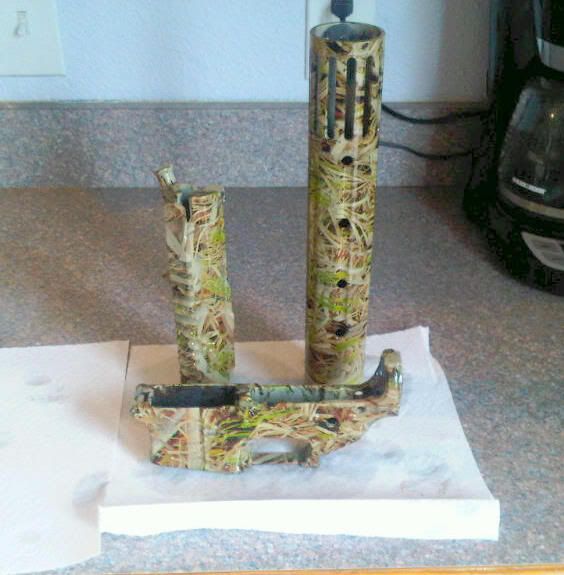
After dipping I used a fan to dry the parts as it was pretty cold out here today.
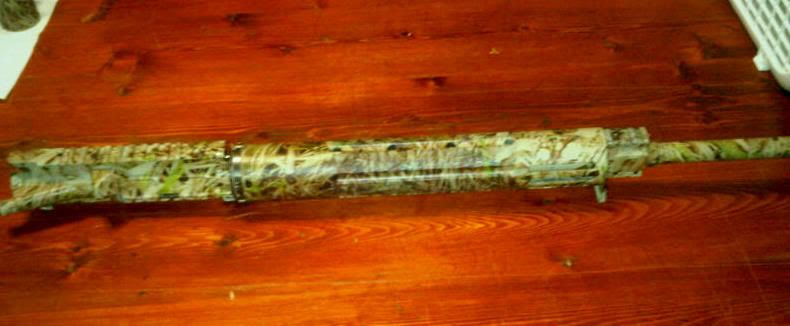
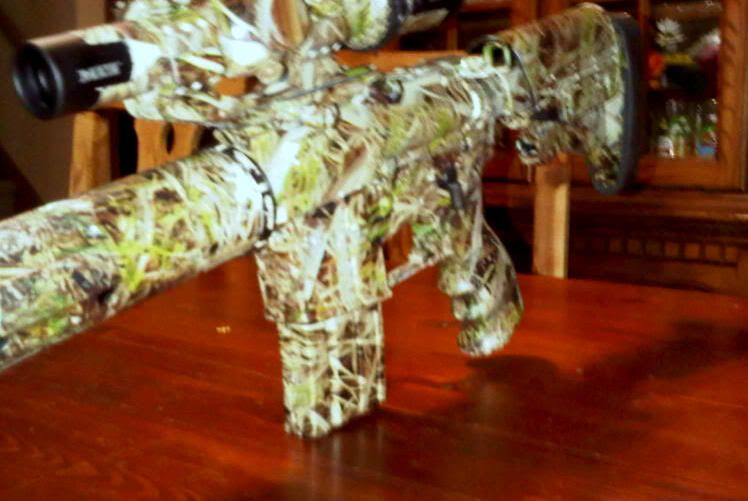
After clear coating I put the upper back together
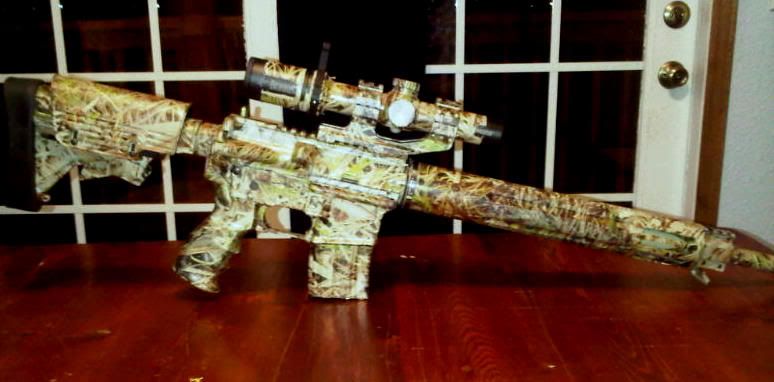
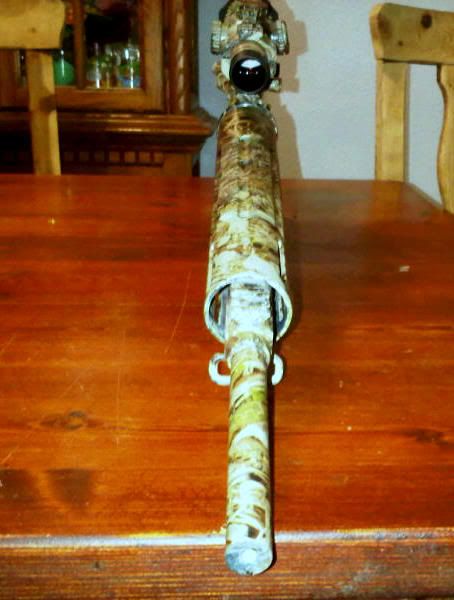
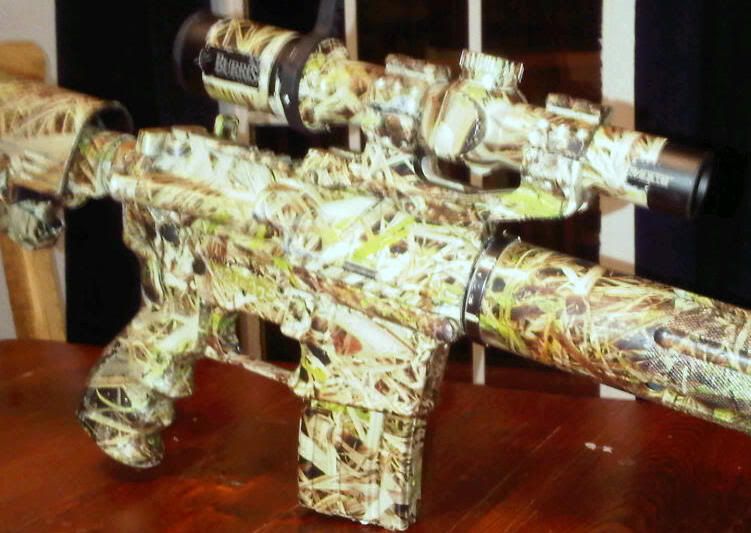
Put all back together
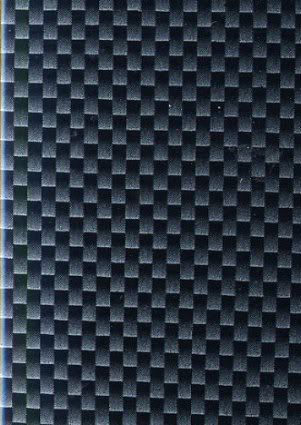
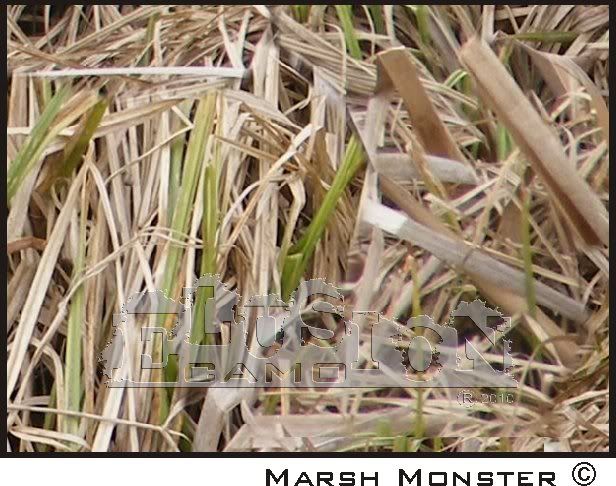
This is the pattern I used
In actual hydro graphic film and activator, maybe $15.00.
Supplies: Needed (Barely used any for 1 AR15)
Green scrub pad - $ 0.50
220 grit sand paper (plastic parts) - $ 0.25
Quality auto adhesion promoter (Spray Can) - $ 6.70
Quality Primer (Spray Can) $ 5.50
Quality Flat Tan base color (Spray Can) - $ 7.50
Quality Satin Clear Coat (Spray Can) - $ 8.00
8oz can spray activator - $18.00
Painters tape - $ 2.00
Walmart 18"x12"x10" plastic tub - $10.00
Wife's patience to take over her kitchen - $100.00 in roses for Valentine's Day
____________________________________________________________
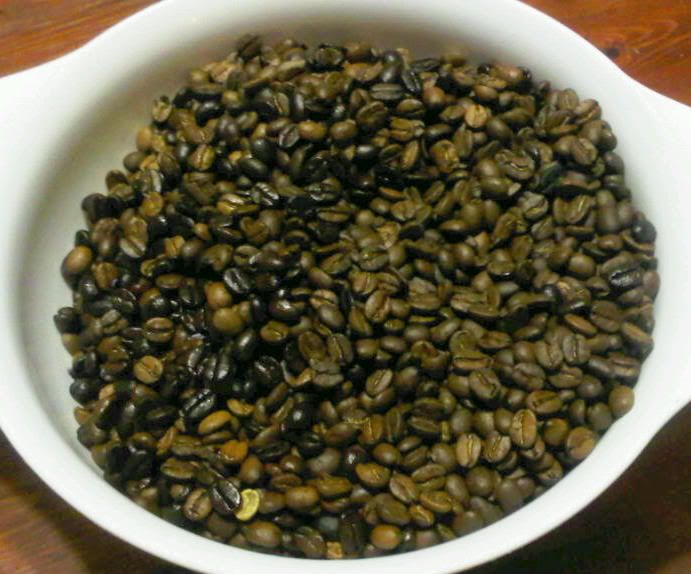
And just to post because. I also home roast my own coffee. I buy the fresh raw beans and roast them. You have never had a true cup of coffee until you have actual had true fresh roasted. No matter what the package says that you buy in the stores it's not true fresh roasted. Like night and day difference
I am very happy with the way it turned out. Sure some things could of been better but I did it myself and it was fun. I promise if I can do this so can anyone else on here.
At this step I had already scuffed or sanded. Applied adhesion promoter, and primer.
First couple of Pieces
After dipping I used a fan to dry the parts as it was pretty cold out here today.
After clear coating I put the upper back together
Put all back together
This is the pattern I used
In actual hydro graphic film and activator, maybe $15.00.
Supplies: Needed (Barely used any for 1 AR15)
Green scrub pad - $ 0.50
220 grit sand paper (plastic parts) - $ 0.25
Quality auto adhesion promoter (Spray Can) - $ 6.70
Quality Primer (Spray Can) $ 5.50
Quality Flat Tan base color (Spray Can) - $ 7.50
Quality Satin Clear Coat (Spray Can) - $ 8.00
8oz can spray activator - $18.00
Painters tape - $ 2.00
Walmart 18"x12"x10" plastic tub - $10.00
Wife's patience to take over her kitchen - $100.00 in roses for Valentine's Day
____________________________________________________________
And just to post because. I also home roast my own coffee. I buy the fresh raw beans and roast them. You have never had a true cup of coffee until you have actual had true fresh roasted. No matter what the package says that you buy in the stores it's not true fresh roasted. Like night and day difference
Last edited: