
statelinerut
New member
This is a step by step on how to camo your hunting rig. This is my second paint project on a rifle and I like best so far. I learned a few things from my first project and made it better this time.
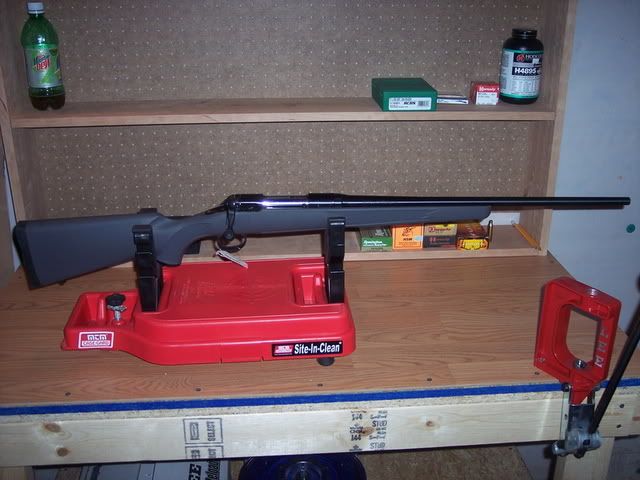
This a Stevens 200. Paid $280 for this rifle and it now looks like any other high dollar calling rig.
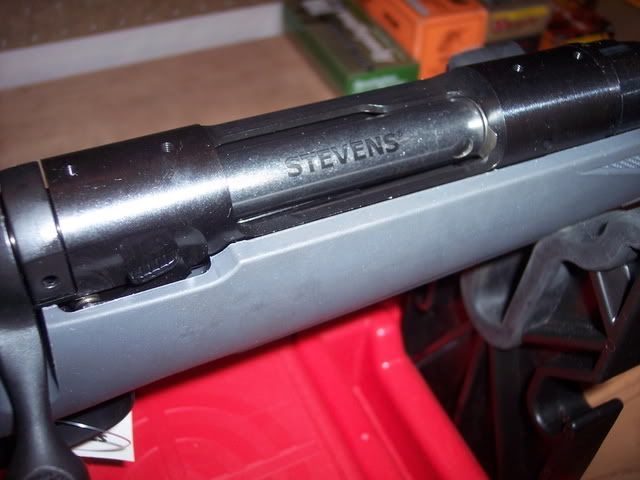
This is the factory rifle without any sanding or paint prep. This rifle came with an ugly plastic stock that need some sanding and prep. I took a 600 grit sand paper and sanded all the sharp edges down a little to give it a more smooth look. Some were really sharp and needed a touch up. Especially around the action area.
When you have completed the sanding and prep you want, take and wipe the whole stock down with a alcohol. This will rid the stock of any oils that will not allow the paint to cure as well. I also wear latex gloves during this process to keep the oils from my hands from getting on the surface.
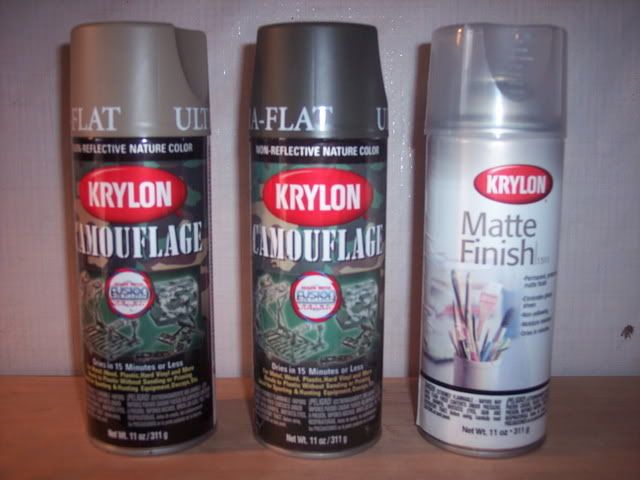
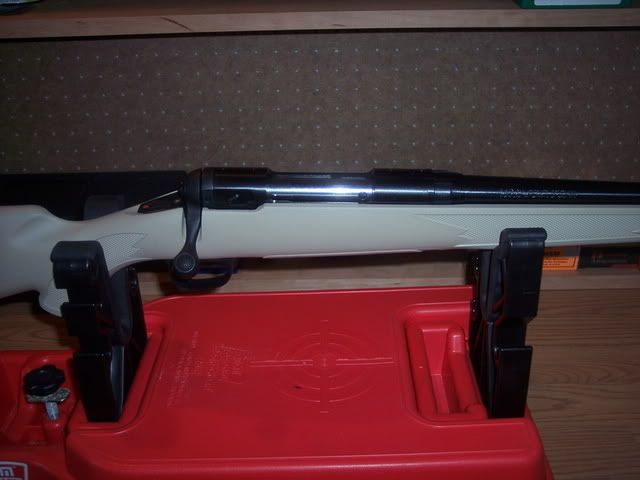
This a picture after the base coat was applied. I used Krylon Camouflage Fusion paint bought at Walmart.
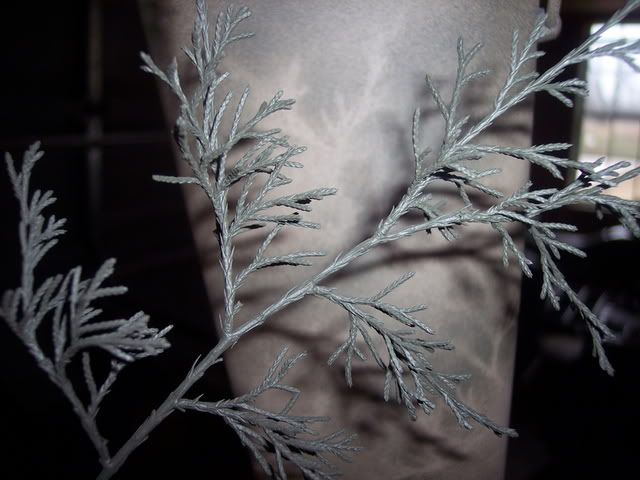
After letting is dry for 24 hours, I applied the pattern I wanted. I use a twig off of a cedar tree in the back yard as my stencil. Take and hold the stencil, whatever you choose to use, where you want it and make a swath with the color you want it to be. Make sure you DO NOT start or end the swath on the rifle as to cause a run in the paint. Just use your imagination here and dont be afraid to get creative. Just remember that your objective here is to have a rifle that blends in with you area of hunting. If you want a lighter rifle, make lighter swaths on you pattern and vice versa.
I then it hang to dry for at least an hour before handling.
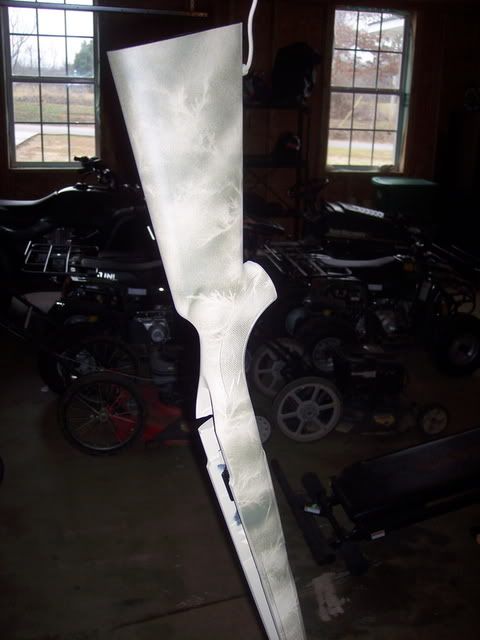
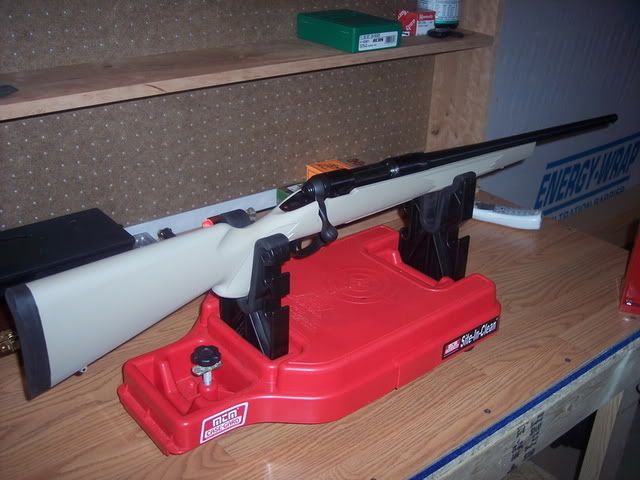
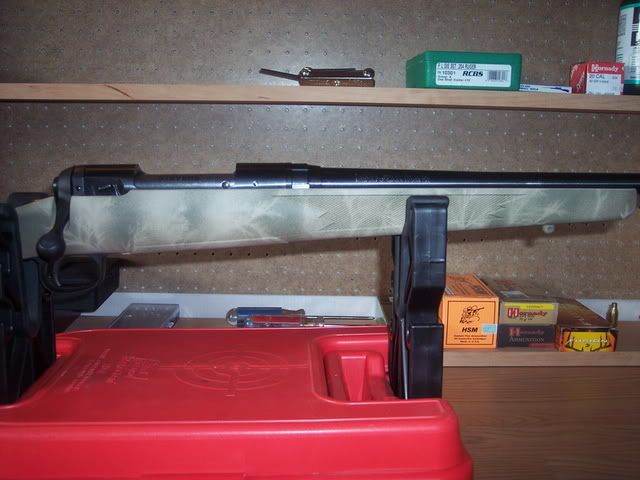
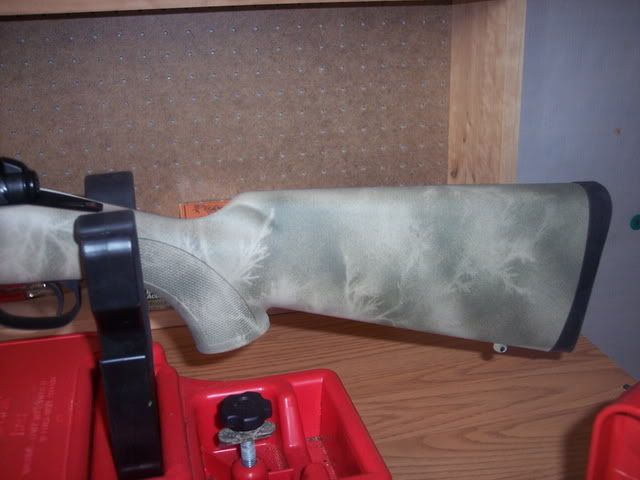
This is the finished rifle. This pattern should blend very well where I do most of my hunting. Not too bright and not too dark. Should blend in very well.
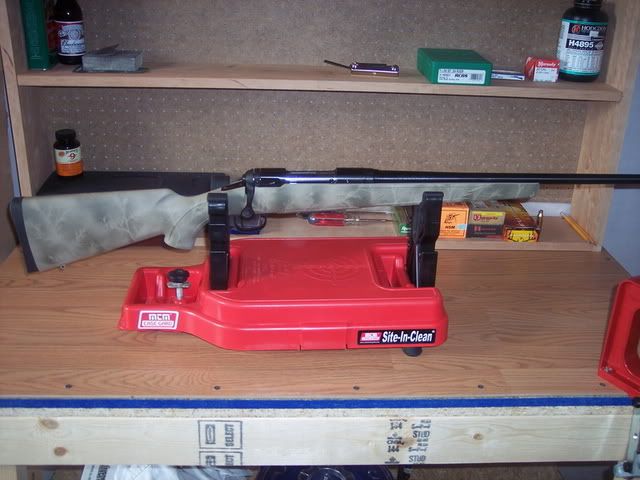
This a Stevens 200. Paid $280 for this rifle and it now looks like any other high dollar calling rig.
This is the factory rifle without any sanding or paint prep. This rifle came with an ugly plastic stock that need some sanding and prep. I took a 600 grit sand paper and sanded all the sharp edges down a little to give it a more smooth look. Some were really sharp and needed a touch up. Especially around the action area.
When you have completed the sanding and prep you want, take and wipe the whole stock down with a alcohol. This will rid the stock of any oils that will not allow the paint to cure as well. I also wear latex gloves during this process to keep the oils from my hands from getting on the surface.
This a picture after the base coat was applied. I used Krylon Camouflage Fusion paint bought at Walmart.
After letting is dry for 24 hours, I applied the pattern I wanted. I use a twig off of a cedar tree in the back yard as my stencil. Take and hold the stencil, whatever you choose to use, where you want it and make a swath with the color you want it to be. Make sure you DO NOT start or end the swath on the rifle as to cause a run in the paint. Just use your imagination here and dont be afraid to get creative. Just remember that your objective here is to have a rifle that blends in with you area of hunting. If you want a lighter rifle, make lighter swaths on you pattern and vice versa.
I then it hang to dry for at least an hour before handling.
This is the finished rifle. This pattern should blend very well where I do most of my hunting. Not too bright and not too dark. Should blend in very well.