KAG
New member
Well after doing lots of reading and then more reading. Combined with watching youtube videos I told myself "I can Do that". SO I bought a kit as well as extra hydrographic film. Ordered what I could not get locally....film and activator. The adhesion promoter, primer, base paints and clear coats I purchased locally from Autozone and wallyworld. I tried to get high end rattle can stuff.
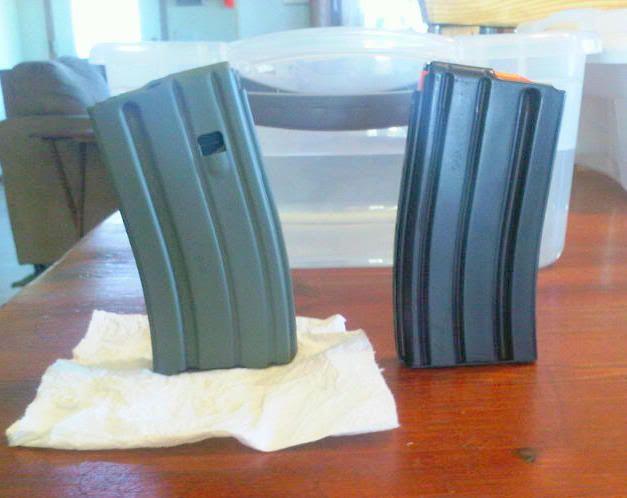
I started off with 2 magazines
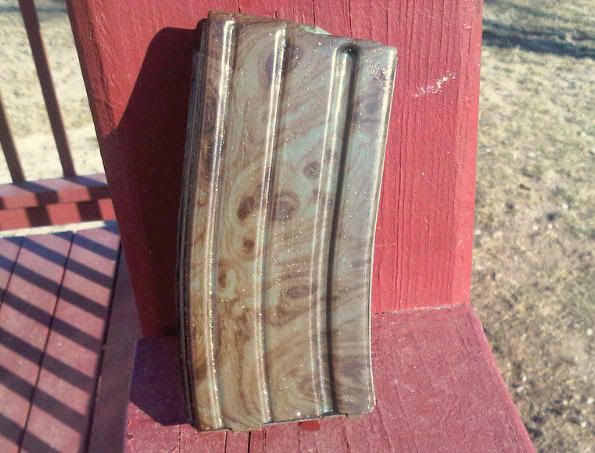
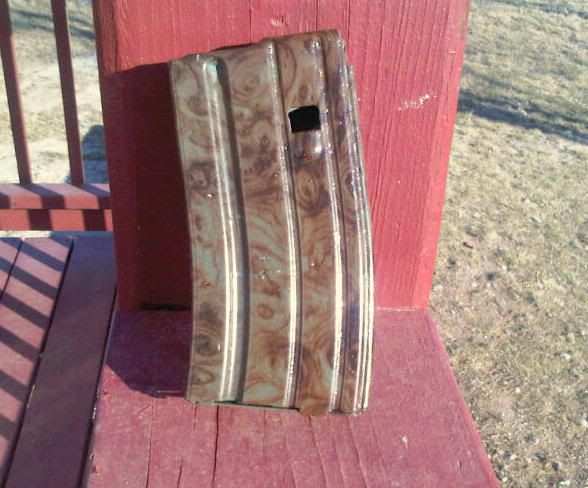
The one on the left I scrubbed with a grit pad to ruogh it up and washed it in dawn. I let it dry then used self etching green automotive primer on it.
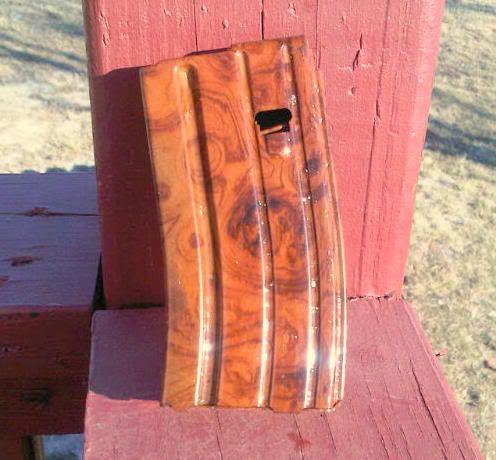
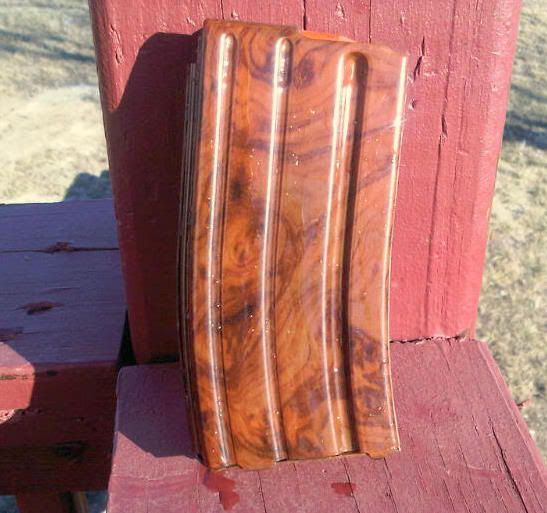
The one on the right I did nothing other than wash it then used just plain brown primer on it.
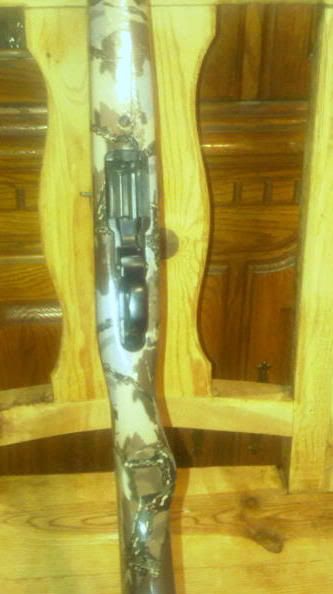
I bought a couple of cheap walmart plastic tubs. One big one small. I filled the small one with luke warm water. Taped off my film, cut it and made stress reduction cuts in it. Put it in the warm very gently, blew on it to get the bubbles out and then sprayed it can of activator. This started working almost immediately because of the warmer water and I dipped the magazine very slowly. Pulled it and rinsed it off.
The second magazine used very cool water and I was much quicker on my spraying pass of activator. I did nothing other than wash the mag then used just plain brown primer on it. I dipped it once i saw the film start to take off. From film in the water to dip was under 60 seconds.
This activator is very quick. I plan to get some slower stuff.
This is not to say I am as good as the pro's, just that I can do this and achieve basic results I can live with.
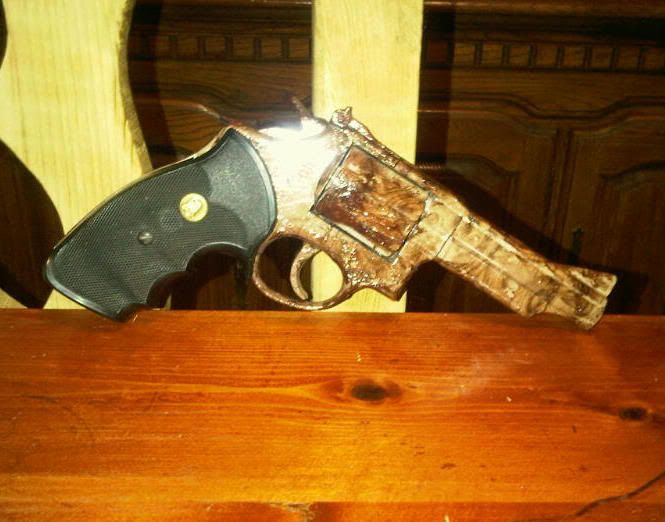
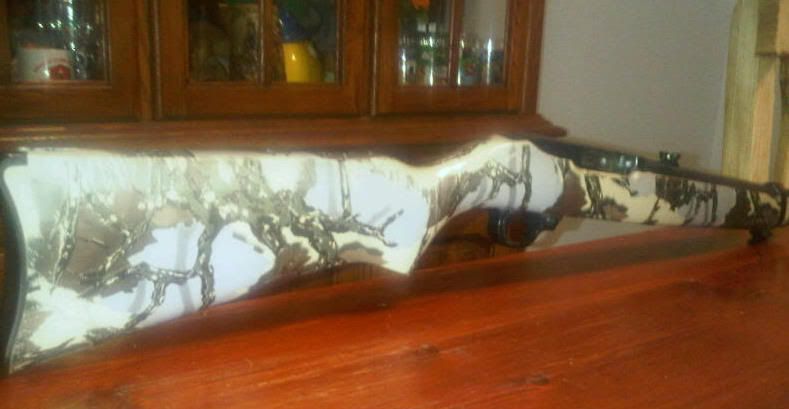
Now on to much tougher stuff....like my buddy's rifle stock....I mean i don't want to practice on my guns yet...
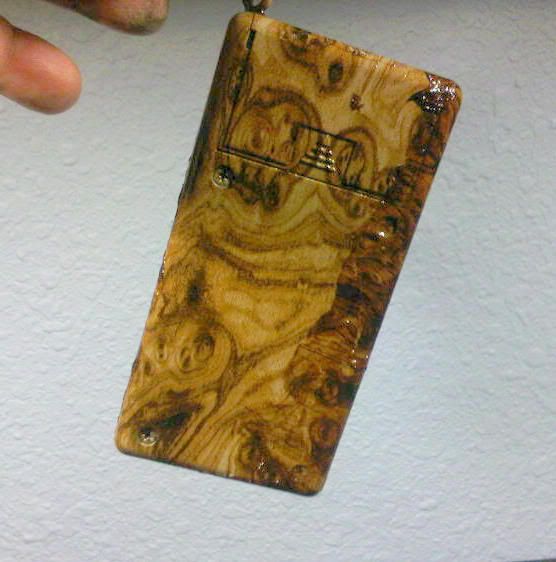
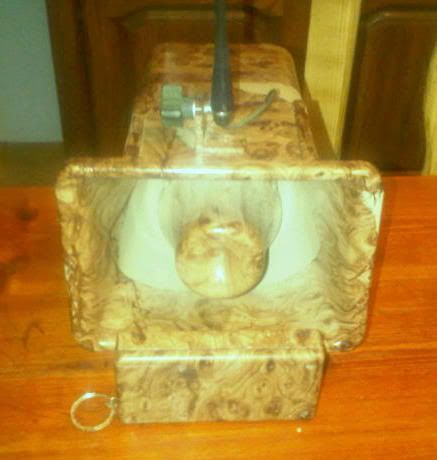
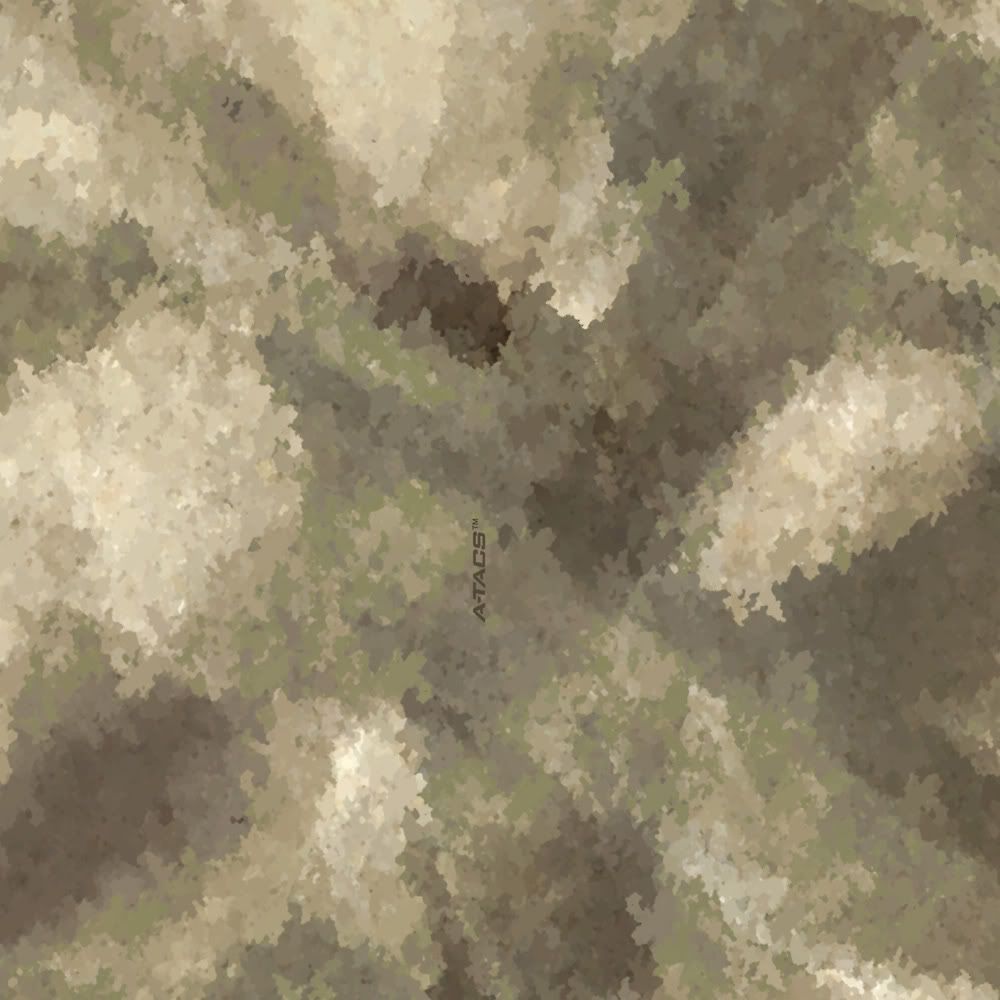
 Actually maybe I will do an older scope to just see....The pattern I am using is a wood burl pattern to play with
I started off with 2 magazines
The one on the left I scrubbed with a grit pad to ruogh it up and washed it in dawn. I let it dry then used self etching green automotive primer on it.
The one on the right I did nothing other than wash it then used just plain brown primer on it.
I bought a couple of cheap walmart plastic tubs. One big one small. I filled the small one with luke warm water. Taped off my film, cut it and made stress reduction cuts in it. Put it in the warm very gently, blew on it to get the bubbles out and then sprayed it can of activator. This started working almost immediately because of the warmer water and I dipped the magazine very slowly. Pulled it and rinsed it off.
The second magazine used very cool water and I was much quicker on my spraying pass of activator. I did nothing other than wash the mag then used just plain brown primer on it. I dipped it once i saw the film start to take off. From film in the water to dip was under 60 seconds.
This activator is very quick. I plan to get some slower stuff.
This is not to say I am as good as the pro's, just that I can do this and achieve basic results I can live with.
Now on to much tougher stuff....like my buddy's rifle stock....I mean i don't want to practice on my guns yet...
Last edited: